The Weekend in Black and White asks us to post a black and white photo each weekend ---no sepia, no spot color, just black and white.
During the last few weeks, I've posted photos of the Cathedral of Learning at the University of Pittsburgh for this meme. Today I'm hopping over to the Carnegie Library of Pittsburgh, just a few minutes walk away.
NF Photography posts an Abstract Photo prompt and alternates it with a Digital Art prompt every other Wednesday. This week is Abstract Photo.
My abstract image was created digitally from one of my photos, so it is both an Abstract Photo and Digital Art.
SCROLL DOWN to see a tip for replacing colors in Photoshop (near the bottom of this post.)
Find links to three free online photo-editing sites.
Also find tips for saving photos in various versions.
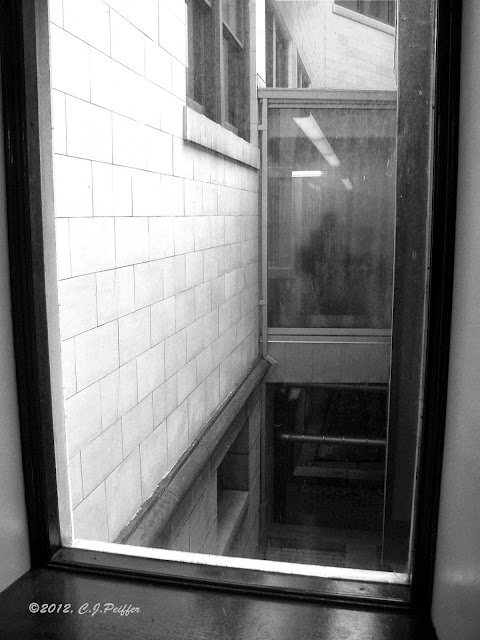 |
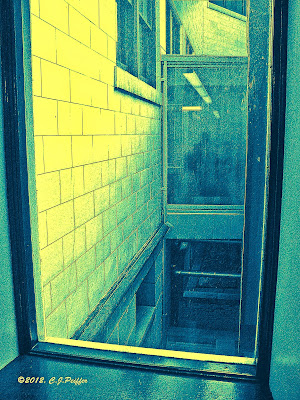
"Library Windows"
This photo was taken from the stacks in the main
branch of the Carnegie Library of Pittsburgh.
Looking through the window, I could see other windows
in other parts of the library. Including the one I was
shooting the photo through, I count parts of ten
different windows. I thought it made for an interesting
abstract design in and of itself, but then I used this
photo to create another abstract (below.) |
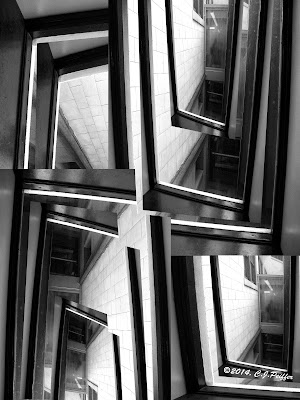 |
"Distorted Windows"
(black & white version)
I copied the above photo several
times, then I rotated and scaled
each image to fill the space.
Then I copied each image once or
twice, making each smaller to
fit over the image under it. |
 |
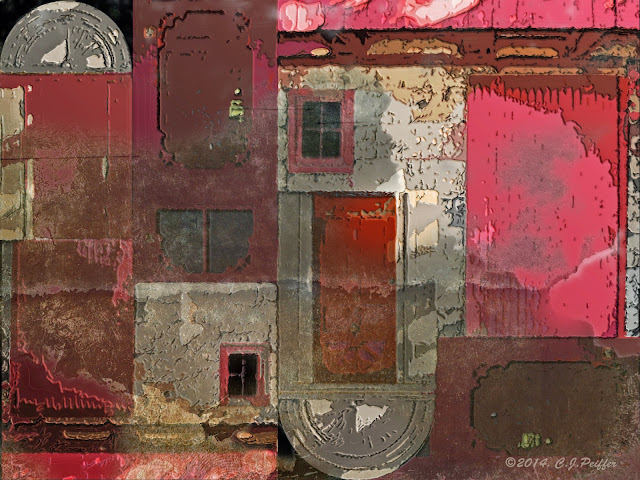
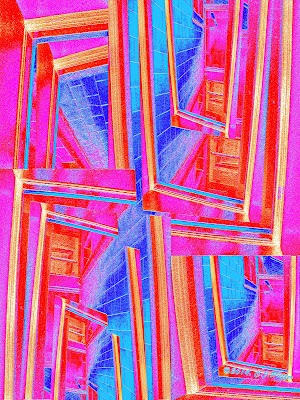
"Distorted Windows"
(colored and enhanced)
I upped the shadows/highlights in the medium range so the
stone blocks on the side of the building would be more
apparent. I then used bas relief to add texture and depth.
I chose the very darkest areas , then filled them
with red on a new layer. I made the red transparent so
there was a hint of red in the black areas.
I chose medium tones & filled them with a warm tan on a
new layer in color mode and did the same for the lightest
areas with yellow orange.
Color mode doesn't work well with black or white,
so the lightest areas remained white and I had to use
a transparent normal mode (in red) over the black
rather than a color mode layer. |
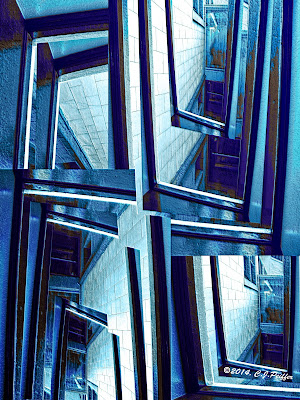 |
"Distorted Windows"
(blue version)
When you have your various
colors on different layers, it's
easy to replace them with
other colors. (See instructions.)
Scroll down for more versions. |
PHOTOSHOP TIP - REPLACING COLORS
There are several ways to replace colors in Photoshop.
First I made this version. When I wanted to change colors to make different versions, I did this:
In this case, because I made separate layers for the red, tan and yellow orange, it was easy to do it this way:
I went to the red layer and hit control and A (command and A on a Mac.) That selected everything in that layer, but I only wanted to select the red parts, so I hit the up arrow once to select only the red, but that also nudged the red up a notch, so I hit the down arrow once to put it back into its original place.
I filled the selected areas with a royal blue on that same layer to replace the red.
An easy short cut for filling a selected area is to hold the shift key and hit F5. (Make sure you have already selected the color you want.)
I did the same for my tan and yellow-orange layers.
It took less than a minute to create a new color scheme using three shades of blue.
FREE ONLINE PHOTO-EDITING SITES:
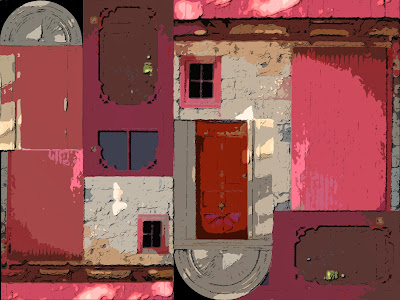
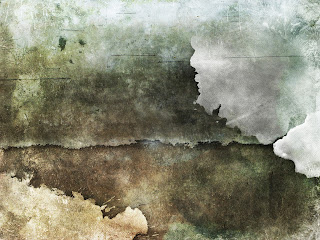
I wanted to see what I could do on several free online photo editing sites. I tried
Fotor,
PicMonkey and
Pixlr. I liked Pixlr best because many of its actions have names similar to the ones I am familiar with on Photoshop. With a click of the mouse (or 2 or 3) I was able to create the images below. I used my original photo for one and the design I created from it for the other two.
If you don't already have or use photo-editing software, you may want to try all three to decide which one you like best. It is possible that there are actions you can do on one site that aren't available on the others, so you might want to use all three for different effects.
I suggest trying the three I mention above. (Some have basic free actions and then you have to pay if you want to use more sophisticated tools.) Or search for other free online software.
Note: if you save your image on Pixlr, it saves to the Pixlr site. If you click the X in the upper right, it asks if you want to save your image before exiting and then you can choose a title and location to save it to your computer.
SEE IMAGES CREATED WITH PIXLR BELOW.
SAVING SEVERAL VERSIONS OF THE SAME PHOTO:
When saving any version of your original photo, keep the photo number in the title. I don't use the letters that identify the camera in my title (such as DSCF or DSCN.) Because I have had several cameras over the years, it's possible that two different photos will include the same number, but I can easily determine which is the correct one.
Today I was searching for a photo I knew I had enhanced, but couldn't find it because I couldn't remember the title I gave it. So, I found the original, told my computer to find the number of that photo (the one the camera assigned) and discovered I had mistakenly placed the enhanced one in the wrong folder months ago.
For the photos in this post, I titled my original photo "LibraryWindows" but the abstract version is "Distorted Windows." These are some of the titles I used:
DSCF4108.jpg (original photo) I always keep a copy in case I want to start over.
LibraryWindows4108.psd (enhanced photo in photoshop)
LibraryWindowsBW4108.psd (black and white version)
DistortedWindowsAbstract4108.psd
DistortedWindowsAbstractBlue4108.psd
Notice the one constant is the photo's number, 4108.
Besides the psd (Photoshop) versions, I always save a jpg version of each.
I recently began to save a second jpg in a smaller size ---big enough to see online, but too small for anyone to copy and make a good print. The word Blog at the end indicates it is the size for blog posts. (DistortedWindowsAbstract4108Blog.jpg)
That way, it is ready to post online sometime in the future when I won't have to create a special jpg version because it is already done.
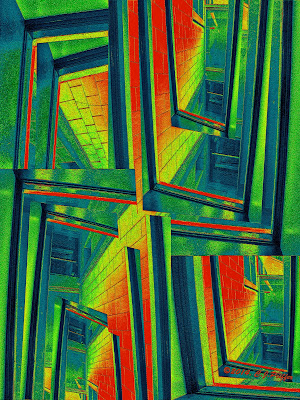 |
| Experimenting at pixlr.com |
 |
| Experimenting at pixlr.com |
 |
| Experimenting at pixlr.com |


